10 Instructive Steps to Making Soup Soul-Filling—Every Time!

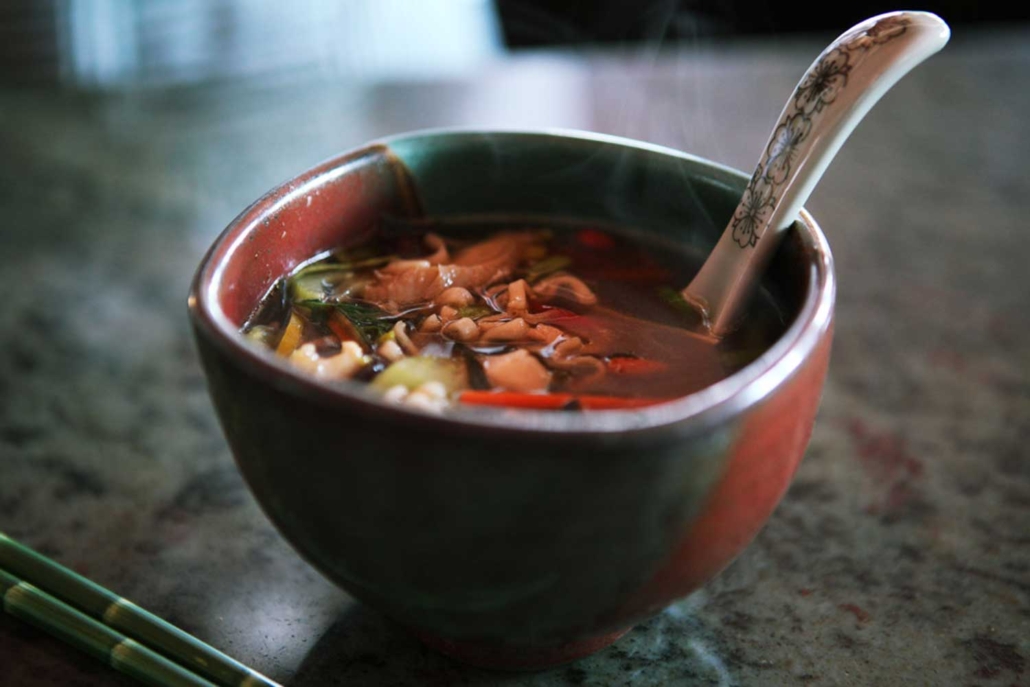
- Simmer your own simple stock
- Use fresh and fantastic ingredients
- Have your idea in place, mise-en-place ready, and make lots
- Onions and other alliums (and raw meats) go in first
- Sweat, stir and soften all other vegetables and fruits
- Select and sweat seasonings (and stir in flour)
- Stir in stock or water (and don’t scrimp!)
- Stir, bring to a boil, reduce heat, simmer and check
- Taste, taste, taste!
- Select your consistency and style
I’ve “boiled down” my essential 10 steps to making soup super and soul-filling—every time!
Here are some ideas and concepts to play around with while making soups:
- Creative cooking time is time well spent.
- Practice your technique with hints from a few soup recipes you’ve collected.
- Put away the instructions. Get creative with my soup system below and make up your own recipes!
Nancy’s Soup System
1. Simmer your own simple stock
For cooks and chefs all over the world, stock is the magical base for making soup that fills your soul.
Instead of taking expensive supplements, consider firing up your stovetop to make a healthy stock. According to The Weston A. Price Foundation, a stock with leftover beef, chicken or fish bones, vegetables and good filtered water provides calcium (as long as you’ve added a little vinegar), magnesium, phosphorous, silicon, sulphur, trace minerals, chondroitin sulphates, glucosamine, iodine, thyroid-strengthening substances and therapeutic gelatin (which aids in digestion and alleviating anemia). And those are only some (!!!) of the benefits. The vegetables you choose for your brew can add countless antioxidants, vitamins and minerals.
Bouillon cubes or other store-bought stocks might be a time-saving substitute. But most, if not all, simply can’t match the taste and quality of a good home brew—and they almost always contain more sodium.
While most stocks simmer from 30 minutes to several hours, the actual labour time involved is only about 15 minutes. Just combine some chicken, beef, ham or fish bones and/or vegetables with lots of water, chopped onions, carrots, celery, a bay leaf, a couple of peppercorns and a few mild herbs, such as fresh or dried thyme and parsley. Then simmer for 30 minutes for fish, two hours or more for chicken and vegetables, or several hours for beef or ham bones. (Easy, right? But feel free to contact me for my more detailed chicken, beef, fish, shrimp, mushroom and vegetable stock recipes.)
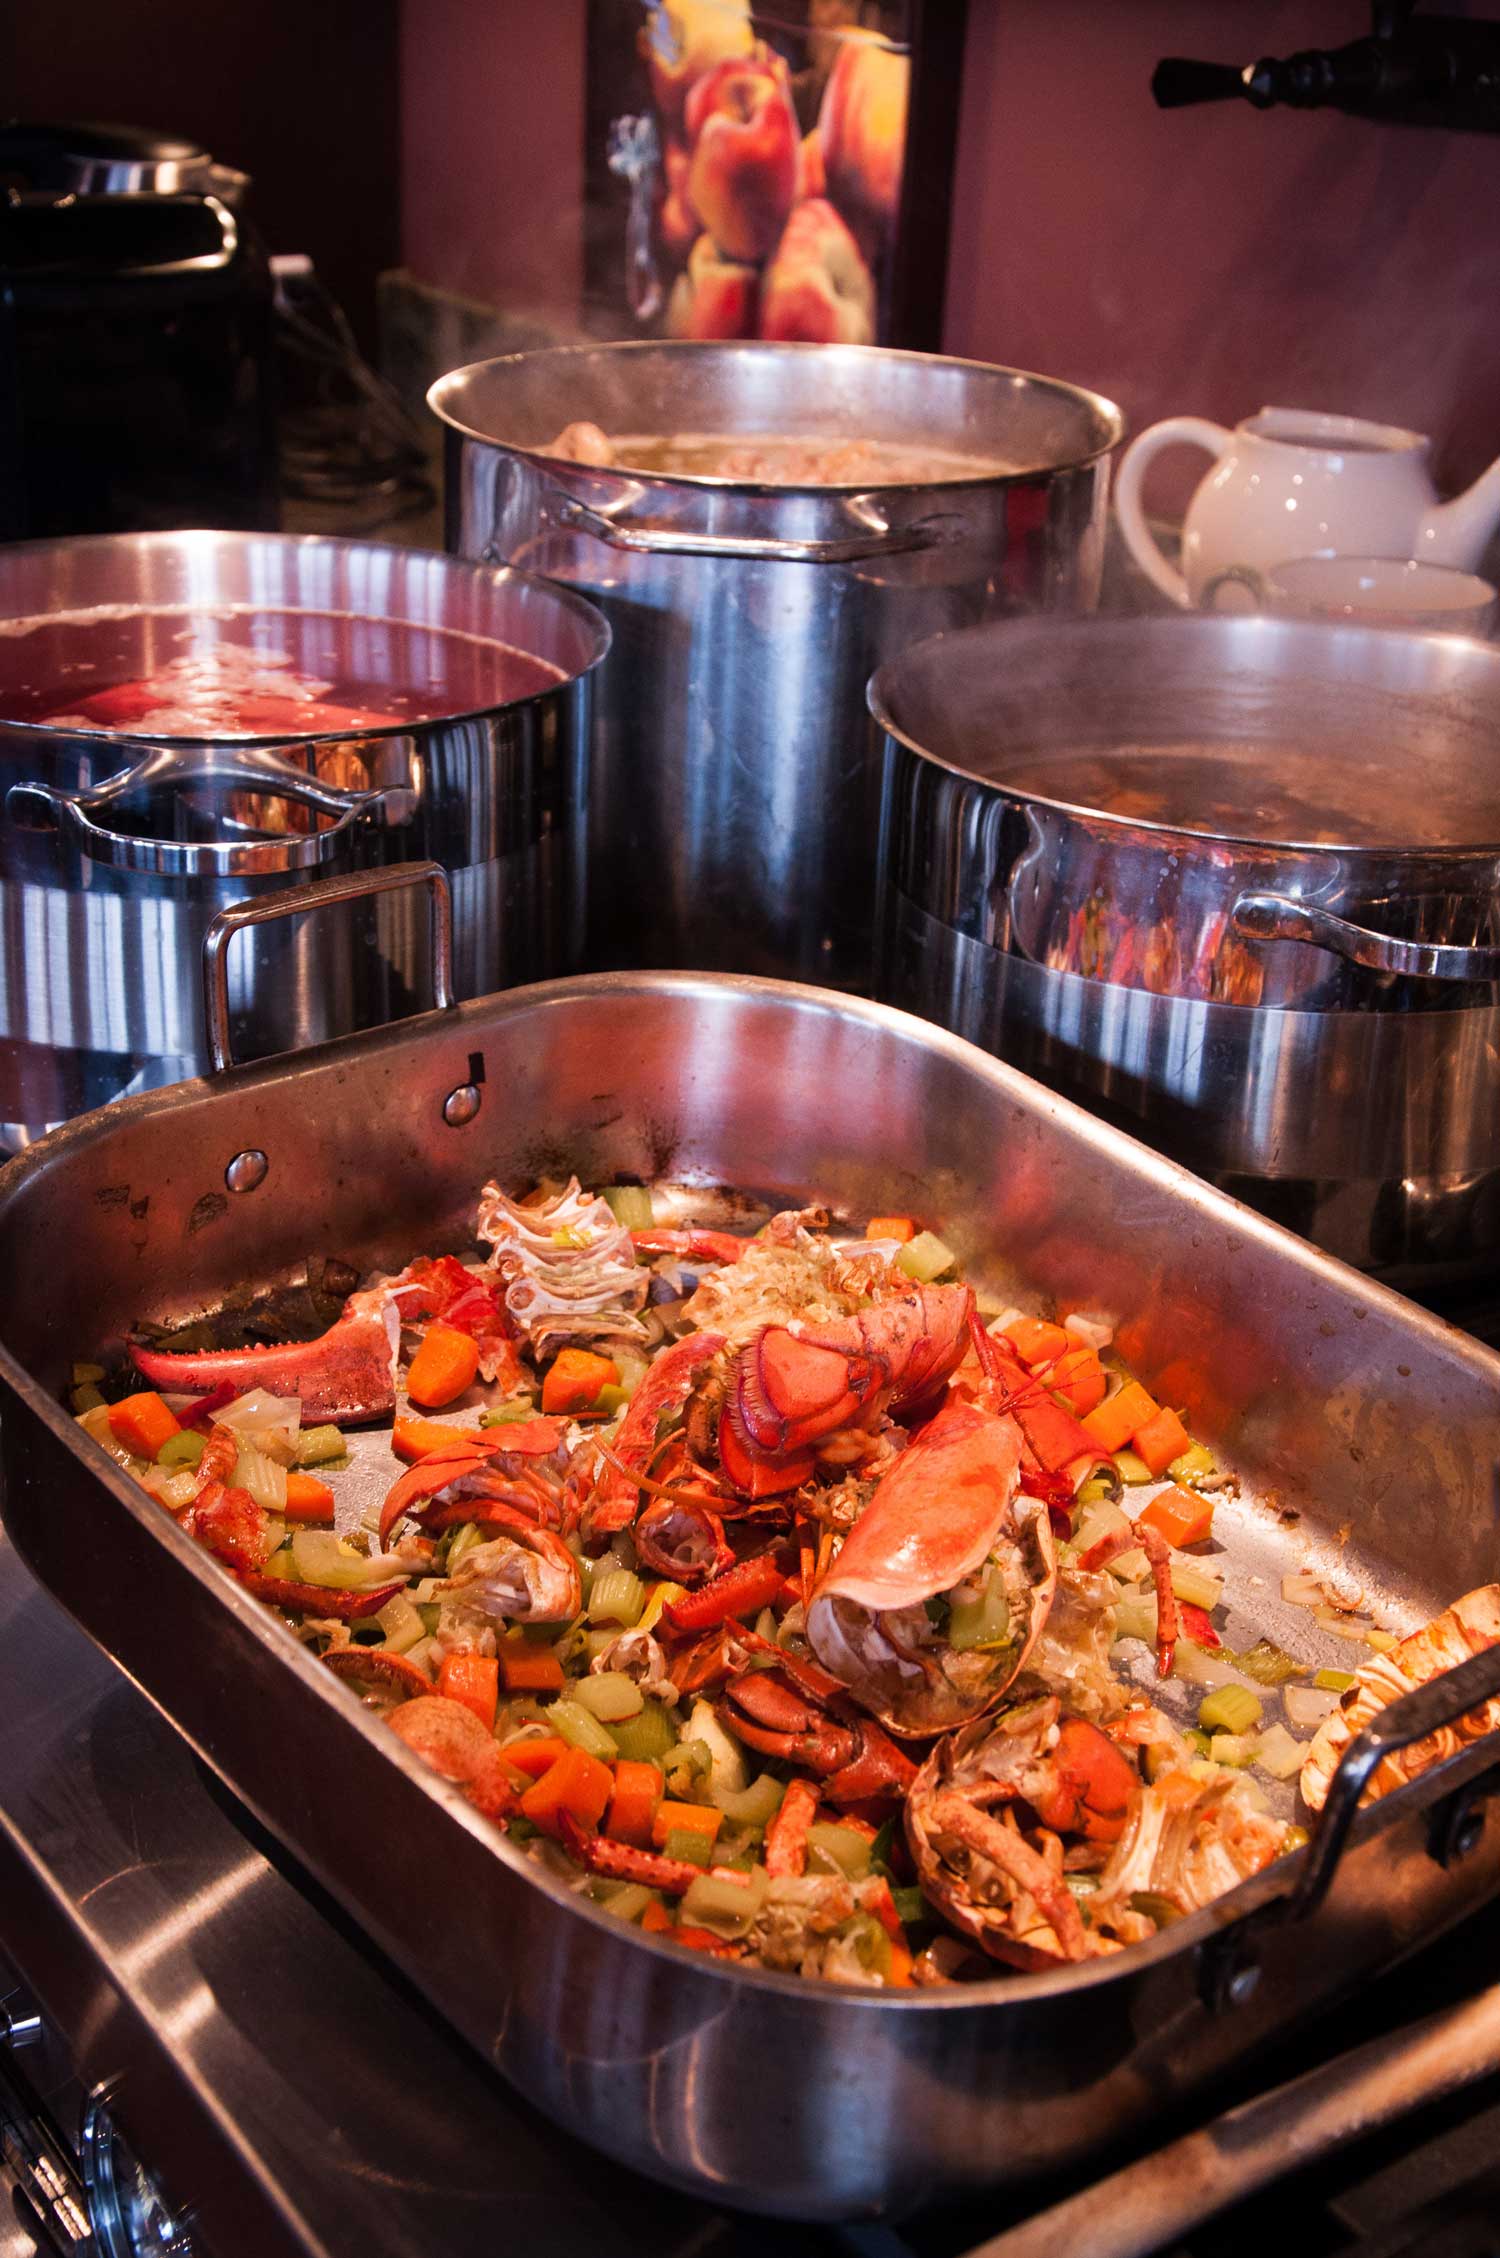
2. Use fresh and fantastic ingredients
There are two ways to approach making a soup.
You can use delicious leftover ingredients, such as poultry bones and meat, ham bones or shrimp shells, wild mushroom stems/fresh mushrooms or slightly soft but still fresh organic vegetables. Or you can be inspired by what you find fresh in your garden, at the store or at the farmers’ markets in Hamilton, Oakville and Niagara Falls and Niagara Region.
Your body will tell you what it needs, and a delicious soup can answer that request. Let the seasons dictate what you experiment with in your soups. Keep an open mind while shopping the produce section at the store or market.
Whatever is vibrant and catches your eye, however weird or wonderful, can be an amazing flavour addition. If it’s fresh, healthy, tasty and/or colourful, consider adding it. Other things to mull over when making soup are whether your brew will be seasonal or regional, light or hearty, steamy and clear or thick and creamy.
Some inspirational ideas include:
- Wild mushroom soup
- Leek and potato soup
- Wild leek soup
- Puréed heirloom carrot soup
- Vegetable minestrone with black beans
- Vibrant puréed purple yam soup
- Simple and sweet Ontario corn soup
- Curried, puréed corn soup with sweet crab
- Decadent shrimp and lobster bisque
- Thai lemongrass soup with cauliflower, coconut milk and lime
- Chinese hot pot soup with seaweed, Asian basil, bamboo, fermented bean, star anise and julienned vegetables
- Summer-sweet tomato soup
- Smoked off-season tomato soup with horseradish and coriander seed
- Potato apple cream soup
- Fresh summer fruit soup with sea salt and lemon zest
All of these are simpler than they sound! Just let the ingredients inspire you, and stay open-minded when you read cookbooks or other food publications or watch cooking demonstrations online.
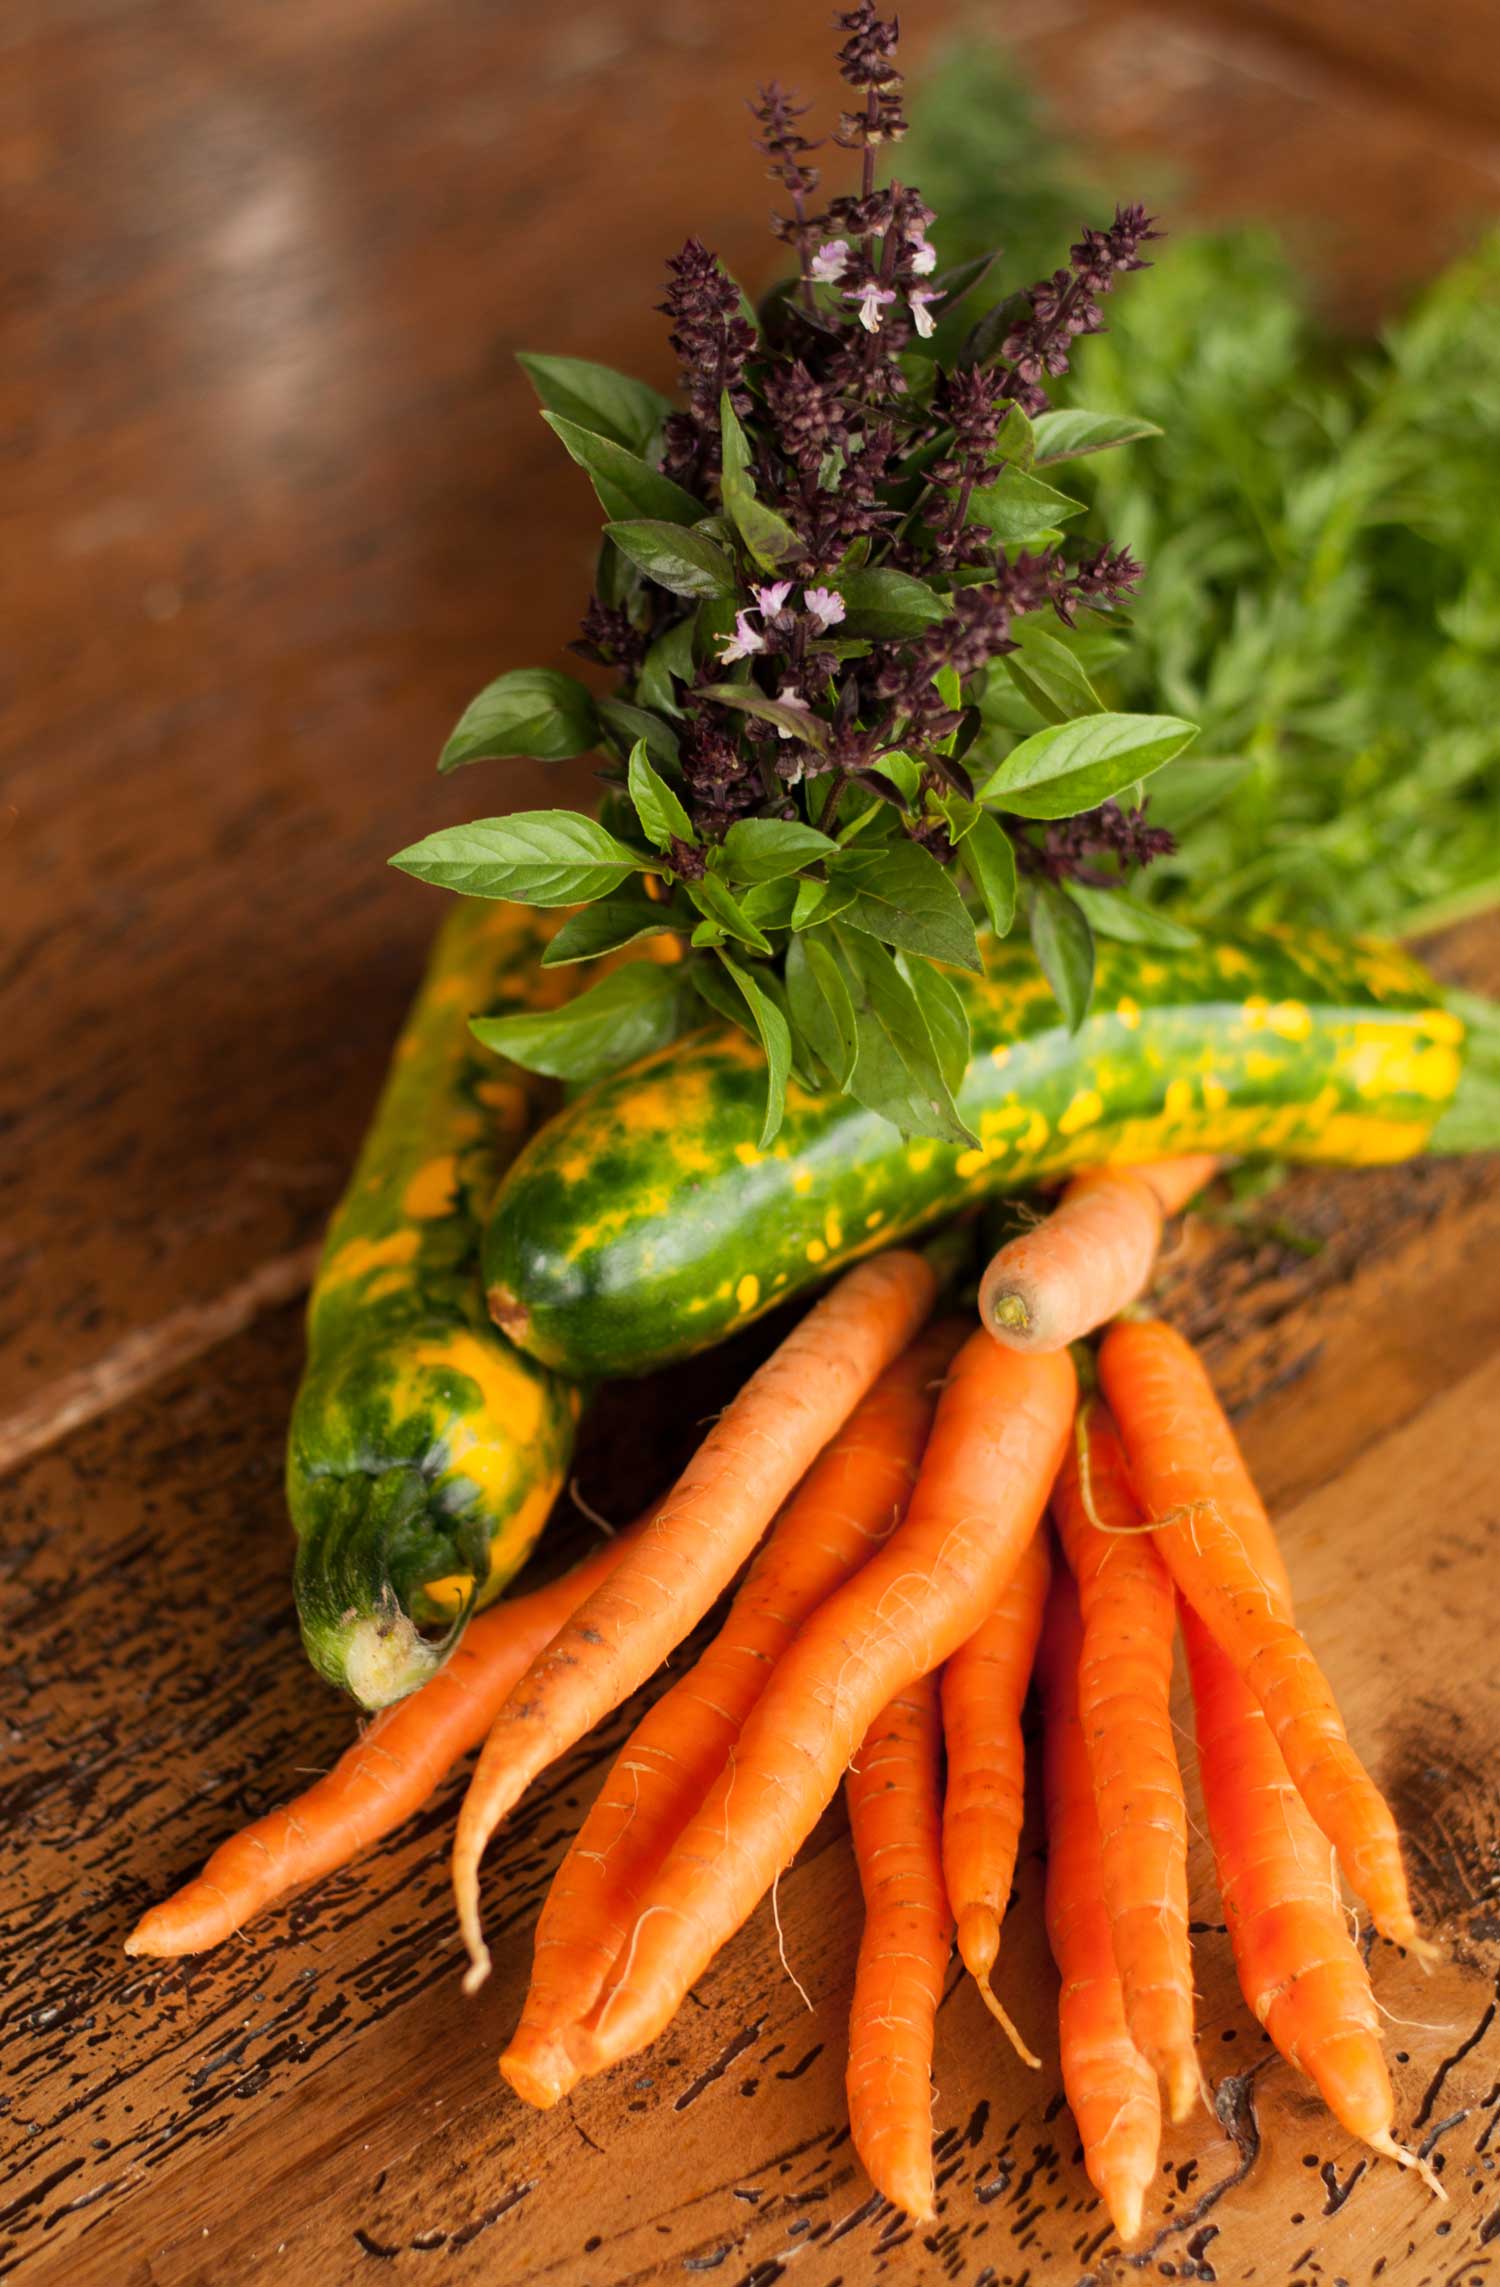
3. Have your idea in place, mise-en-place ready, and make lots
Once you get the hang of it, making soup is an easy one-pot execution with simple ingredients and straightforward steps.
During my chef apprenticeship, mise-en-place simply meant cooks were expected to have everything organized, pre-prepped and ready “in its place” to reduce stress and keep mistakes to a minimum (yes, even chefs make mistakes in the kitchen!). It’s the same for you at home; great cooking and tasting experiences don’t need to be complicated. A little organization and planning can help you prepare nutritional goodness before you become too hungry or tired.
Put some thought into the consistency of your soup. Do you want it to be light and fresh or full-bodied and satisfying? Is it a puréed soup or a cream-based soup? Maybe a beautiful simmering medley of vegetables and stock?
Major timesaver: make extra to freeze or eat your delicious leftovers all week as healthful snacks or starters to a meal. Better yet, share your masterpiece with others!
Remember, always chop everything with a sharp knife for safety. Give yourself more elbow room during prep by using a large cutting board stabilized in place with a wet cloth or grip. Use your largest, heavy-bottomed, good-quality pot, a long-handled wooden spoon and a ladle, and have your homemade stock, filtered water or store-bought stock ready. Depending on what kind of soup you’re making, you may also need a blender or food processor.

4. Onions and other alliums (and raw meats) go in first
Vegetables from the allium family (such as onions, shallots, leeks, garlic, scallions and chives) infuse your soup with a rich, sweet and savoury garlicky base. But first, you need to soften them to release their delectable essence.
Many soup recipes (except fruit or raw soups) begin with this step. Cook or “sweat” your favourite type of heartier chopped onions, cultivated leeks and/or shallots in your large pot with a bit of your favourite cooking oil, butter or bacon fat over medium or medium-low heat until they’re softened and glistening. We don’t want them undercooked, strong-tasting, crunchy, brown or burnt.
If you’re adding raw meat, add it with the onions and cook them together. You’re welcome to turn the heat up a bit for some extra browning and flavour (this is called sautéing), but watch for burning.
You can also add chopped wild leeks, green onions (scallions), garlic scapes or chopped fresh garlic. But it’s better to add these more fragile alliums at the end of Step 5 to avoid burning them.

5. Sweat, stir and soften all other vegetables and fruits
Now it’s time to add your other chopped vegetables. As a general rule when making soup, larger items go in the pot first. Time the next additions according to size (largest first, smallest last). Keep the heat at medium or medium-low and let the veggies begin to soften.
How long you cook your veggies is up to you; it depends on the texture and colour of the soup you’re aiming for. Some vegetables (green ones, for example, or tomatoes) are meant to be cooked quickly to retain their beautifully alive colours and flavours. Other vegetables can hold up quite well with longer cooking times. Carrots, potatoes and squash, for example, often need longer cooking times to soften them and release their best qualities.
Fragile chopped alliums, such as scapes, green onions, garlic or wild leeks, can be added and sweated briefly at the end.
Remember that sweating is neither sautéing nor burning; it requires careful attentiveness to garner the best results.
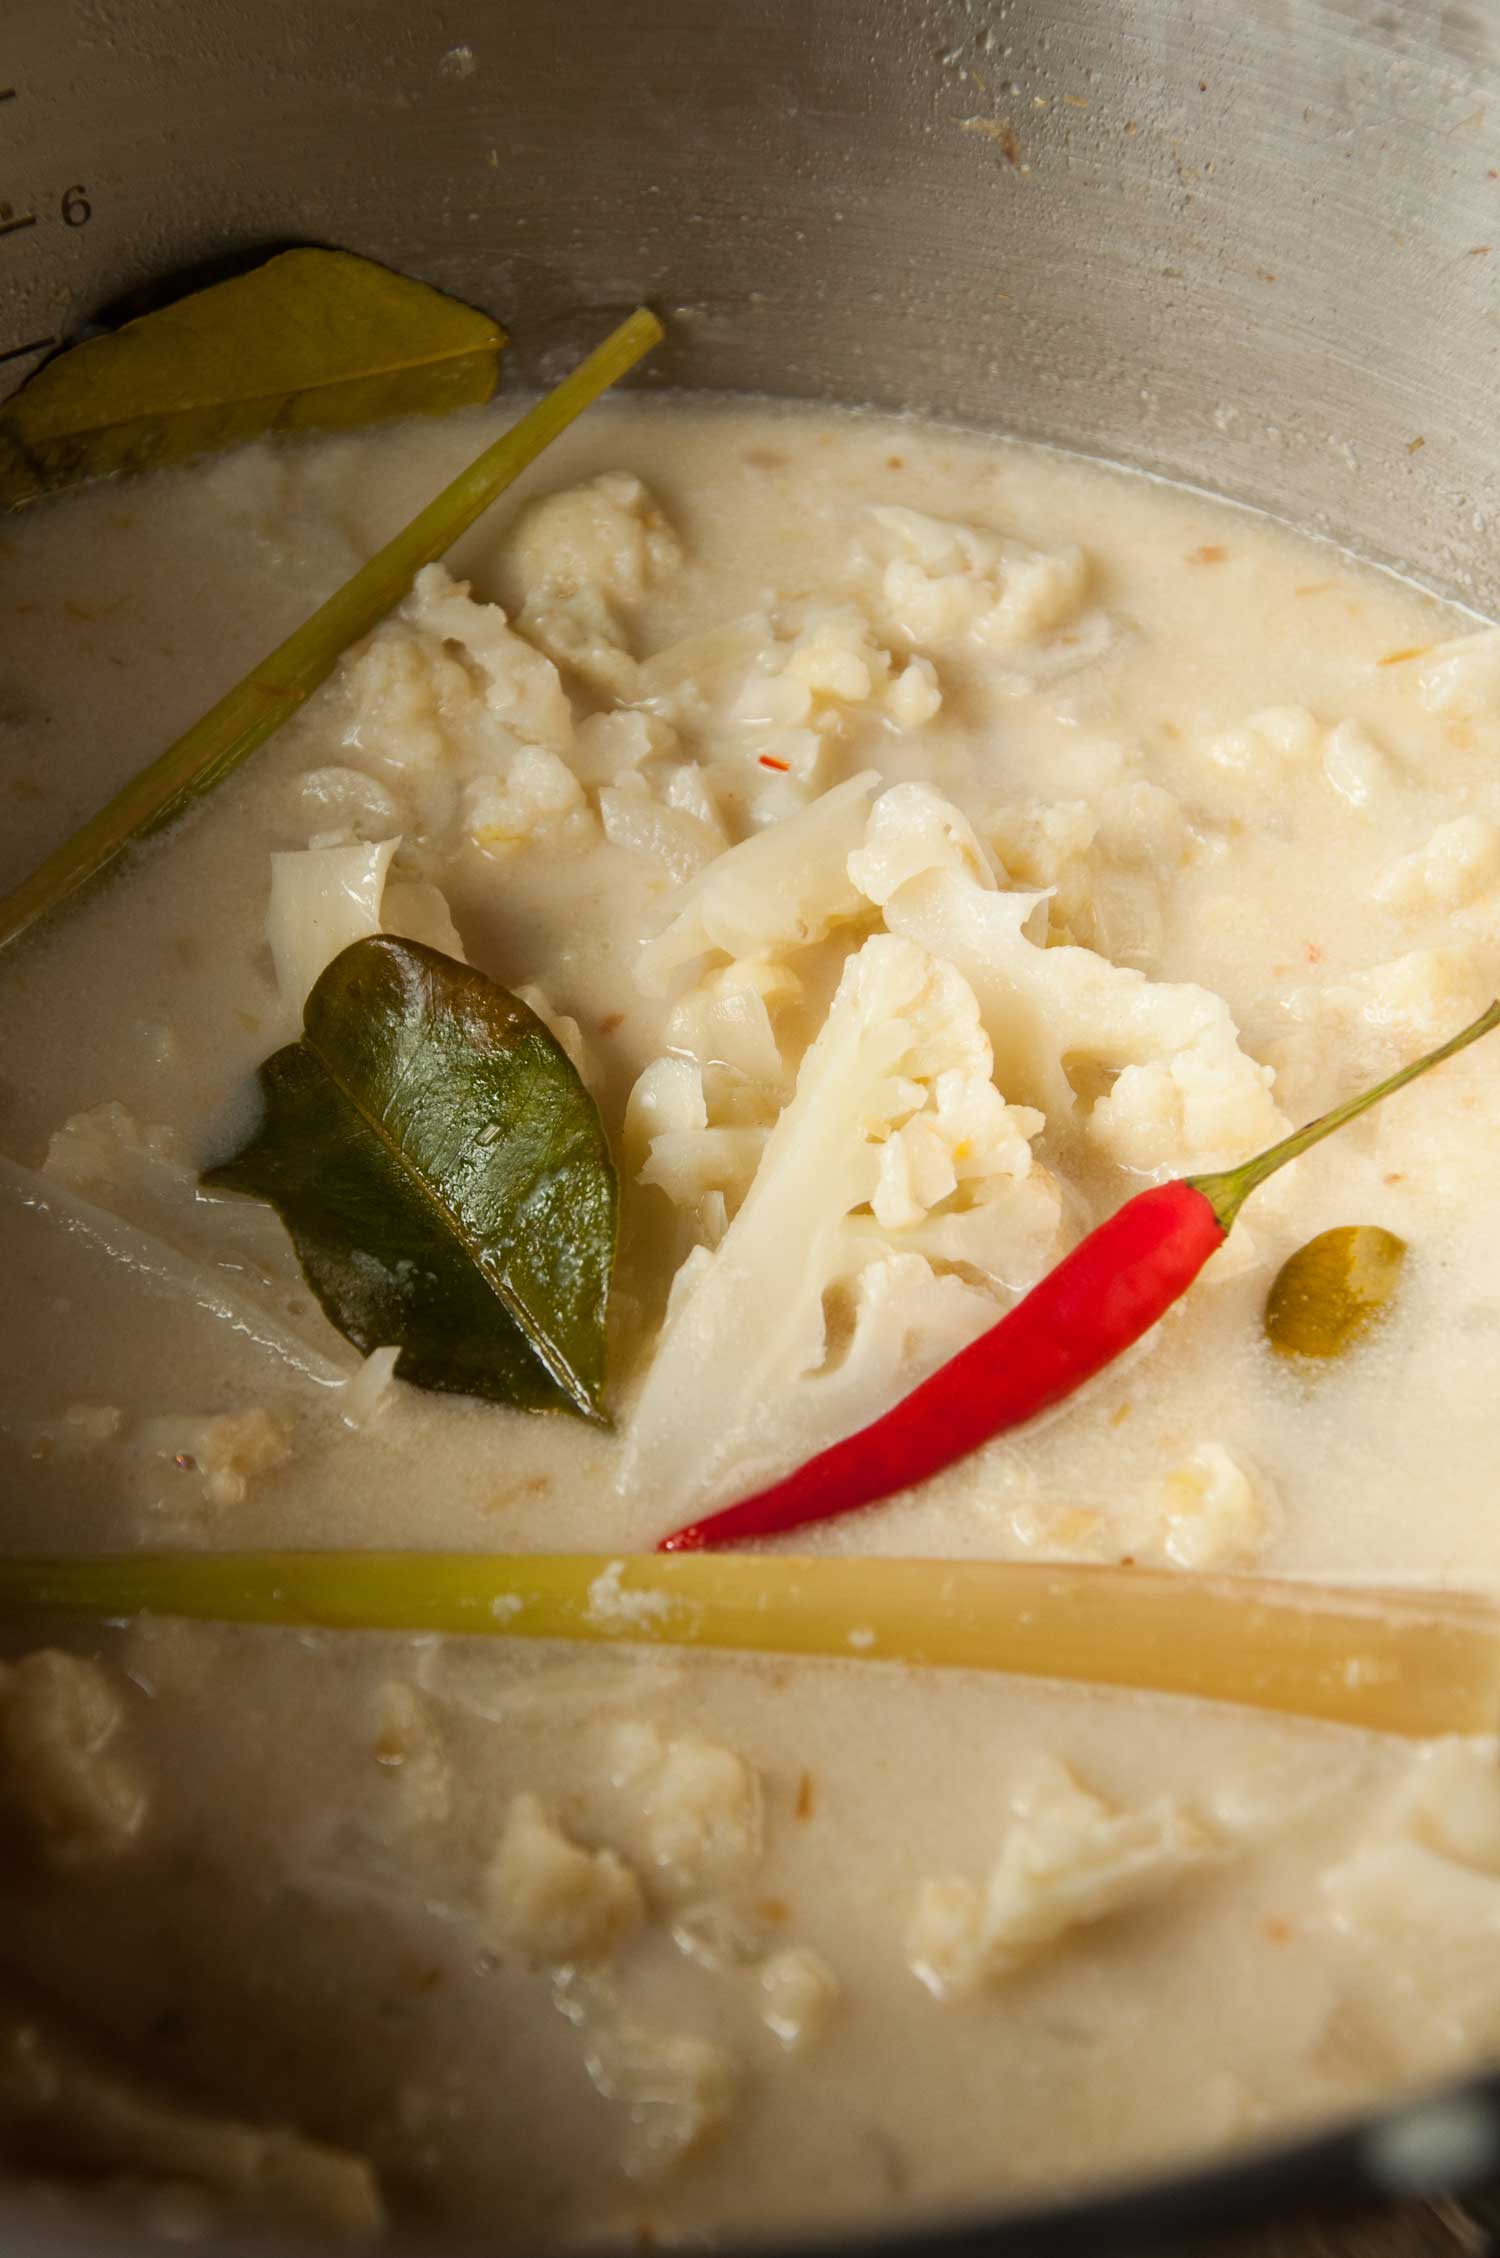
6. Select and sweat seasonings (and stir in flour)
The time has come to add seasonings for depth of flavour.
Summer-fresh vegetables often don’t need a lot of extra ingredients to highlight their goodness. For example, fresh-picked summer tomatoes have a perfect balance between acidity and sweetness—approximately 400 different compounds contribute to their flavour and our enjoyment. But at other times, you may want to lift the taste of your soup to that next level of yumminess by adding fresh or dried herbs and spices.
Woodier herbs, such as fresh thyme, oregano, rosemary or marjoram, go in now. Fragile fresh herbs, such as parsley, basil, coriander, chervil, mint and dill, can go in later in the cooking process.
Try adding a pinch of sugar, a spoonful of maple syrup, lemon or lime zest, bay leaves, pieces of lemon grass, hot peppers, grated horseradish, small amounts of citrus juice (not if using milks, as they’ll curdle), wines, brandy or a splash of vinegar. Cooking, while stirring, for a minute or two can release and distribute these rich, spicy and/or vibrant additions.
If you’re looking for a creamier, thicker consistency to your soup and you’re not using potatoes, beans, corn, okra or another natural thickening ingredient, now is the time to stir in a bit of your favourite flour (usually just a couple of tablespoons are needed).
You can also add pastes, such as tomato paste, fermented bean paste, pesto, or anchovy paste.
Notice that we still haven’t added any salt.

7. Stir in stock or water (and don’t scrimp!)
Remember, as you add liquids, that you’re making soup, not stew—your soup should be pleasantly sippable and not overly thick.
The longer you cook a soup, the more liquid will evaporate. On the other hand, you can never really predict how your vegetables will thicken up your soup. The trick is to be flexible, no matter what the recipe calls for. Add liquid as needed. If you overdo it and need to thicken an overly thin soup, see Step 10.
Again, don’t add any salt yet, just in case salt is already present in your liquid additions.
Taste now to get a sense of your marriage of ingredients and where you need to go with them. Note that milks, creams and coconut milk should be added in Step 10, as boiling them can cause curdling (denaturation of proteins), which is safe to eat but unsightly.
8. Stir, bring to a boil, reduce heat, simmer and check
The key to making soup is attentiveness. Yes, kitchen science and artistry contribute to the result, but it’s also about being around to gauge what’s needed. An inattentive cook can turn an artistic creation into a failed chemistry experiment (carbonization = burning)! You can be doing other things in your kitchen, but remember to check in on the ever-changing process in your pot.
It’s time to stir the soup over medium heat, being careful to scrape the spoon along the bottom of the pot to check for sticking ingredients. Bring the soup carefully to a full, rolling boil over medium to medium-high heat and let it boil for a full minute or two to destroy any pathogens.
Next, reduce the heat to medium-low or low to simmer. Maintain a simmer until you feel the ingredients are cooked, and the textures are to your liking. (Remember, safe and perfectly cooked does not mean overcooked. With practice and research, you can find that sweet spot and delicious results. See this article for more on safe food handling).

9. Taste, taste, taste!
Have a taste of your creation. What do you think is needed?
Now could be the time to add creamy liquids, such as milks, half and half or 35 percent cream or coconut milk. Add some salt and pepper (if needed) and whatever else you think you need in small increments.
The key is adding a little bit at a time. Taste, be attentive and aware of your senses and how the flavours play to them, and then make your decisions. One of the biggest mistakes you can make with homemade foods is under- or over-seasoning.
Remember that if you choose to purée your soup, that will change the flavour balance, so leave room for more seasoning at that stage.

10. Select your consistency and style
Now it’s just a matter of finishing the soup. Based on the choices you made while researching or strolling the market, thinking about what style of soup you wanted to make, you have a few options:
- If you’ve chosen a simple and earthy style for your soup, you may leave this work of art as is, garnish and serve. Or,
- If you want your soup to be smooth and creamy with some texture, purée it in a food processor or blender or with a handheld blender. Then, carefully reheat the soup and hold it at a slow boil for a couple of minutes to redistribute and stabilize the flavours. Now, taste and make any last-minute additions of liquids and flavourings so it is delicious and has the right soupy consistency. Serve it with a garnish on top. Or,
- For extra smooth creaminess, purée the soup and strain away the more solid bits to leave the essence (for a consommé soup, for example). Reheat the soup and slow boil it for a few minutes, reduce the heat, TASTE and adjust seasonings and consistency if needed. Serve with an optional garnish. And/or,
- Add delicate dairy or creamy liquids, fragile pre-cooked ingredients, delicate seafood or fragile, leafy fresh herbs, such as basil or chives. It’s best to do this near the very end of the cooking process—after you have executed your choice of a), b) or c) above—to avoid overcooking or curdling.
Stay true to a soup’s expected temperature. If it’s a cold soup, serve it chilled. If it’s a hot soup, serve it HOT. Never serve your beautiful soup tepid.

Optional garnish: Sometimes, it’s nice to repeat an ingredient you used in your soup as a pretty addition on top. Or sometimes you just want to add a bit of colour, texture, crunch or decadence—whether it be chopped, fresh herbs; edible flowers; small, diced vegetables or meats; swirls of pesto or olive oil; croutons; melted cheese or black sesame seeds. Be creative!
Thickening a watery soup with cornstarch:
- Have cornstarch ready in case your soup is still too thin when it’s almost done. Your soup must be boiling for the cornstarch to thicken it.
- Place two tablespoons of cornstarch in a small bowl and add three tablespoons of cold water. Stir this mixture until all the lumps are dissolved.
- With two hands or a helper, pour this cornstarch liquid in a thin stream into your boiling soup while stirring or whisking. Stop pouring as soon as you see your soup gelling up to a more desirable consistency. Do not over-cornstarch a soup—it will look unnaturally gelled. (You can follow this method for sauces, too, but only add cornstarch at the end for the most natural-looking results.)
Bonus tip: Did you know that this essential soup system can also be your guideline for making sumptuous stews and sauces? Try it yourself!
Pat yourself on the back. There’s no substitute for the positive, healthful experience of experimenting in the kitchen and eating and sharing homemade soup!!! Please tell me about your experiences of making soup—I would love to know how they went!
In fond memory of Executive Chef Josef Vonlanthen and his in-kitchen teaching demos.
Download this printable cheatsheet here!








Leave a Reply
Want to join the discussion?Feel free to contribute!